This page details the old StoryMaps training. For the new StoryMaps Training, please go to the StoryMaps for Vivellos
Walkthrough
Before getting started, download the ZIP file of sample data for this walkthrough.
- Click the + New story button to create a new story. For the purposes of this walkthrough, select the “Start from scratch” option.
- Give your story a title and, optionally, a short description or subtitle.
- Click the green plus button to begin adding content:
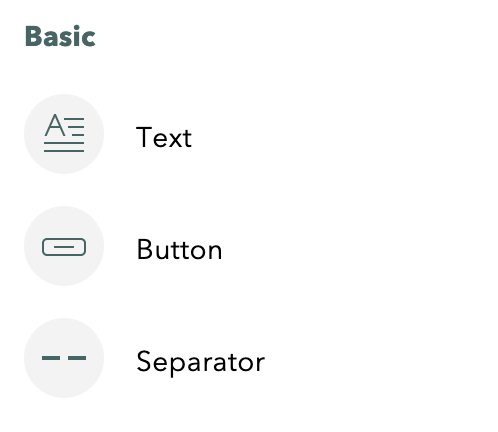
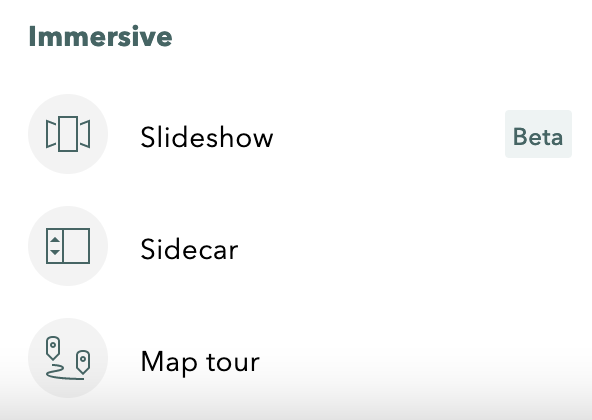
- Choose from basic (text, button, separator), media, and immersive content options:

Selecting one type will bring up options for adding content of that type and for simple editing and styling. - Click the plus button underneath a content item, choose another content type, and add more content to your StoryMap – rinse, lather, repeat until you’ve created a StoryMap that you’re happy with!
- For the purposes of this basic walkthrough, follow along with the provided sample text, using the sample images shared from the beginning, middle, and end of the StoryMap.
- See this “final result” example from Esri for an example of how to lay out the content provided.
- To edit text content, simply click into it and type away. To edit multimedia content, hover over it with your mouse and view the options that appear.
- Move a content item up or down on your map by clicking and dragging the “handle” icon (two three-dot columns) that appears when you hover over it with your mouse:
- Use the Design menu option at the top to style your StoryMap: choose the cover layout, select whether you want the navigation and credit options to appear, and select one of the available themes for your story.
- You can click the Preview menu option at the top to see what your StoryMap will look like to viewers.
- When you’re ready to publish your StoryMap, click the Publish menu option at the top: this will reflect your changes in the published version. StoryMap saves as you go, but will not publish changes to the finished version without your say-so.