
Table of Contents
Fixing Background PHP Path
This walkthrough provides step-by-step instructions for fixing the background PHP path in Omeka, which is necessary for certain plugins, like CSV Import, to function correctly.
Reclaim Hosting also has a walkthrough of their own (with fewer screenshots), in case that is helpful.
1 – Log in to your cPanel at https://sites.grinnell.edu
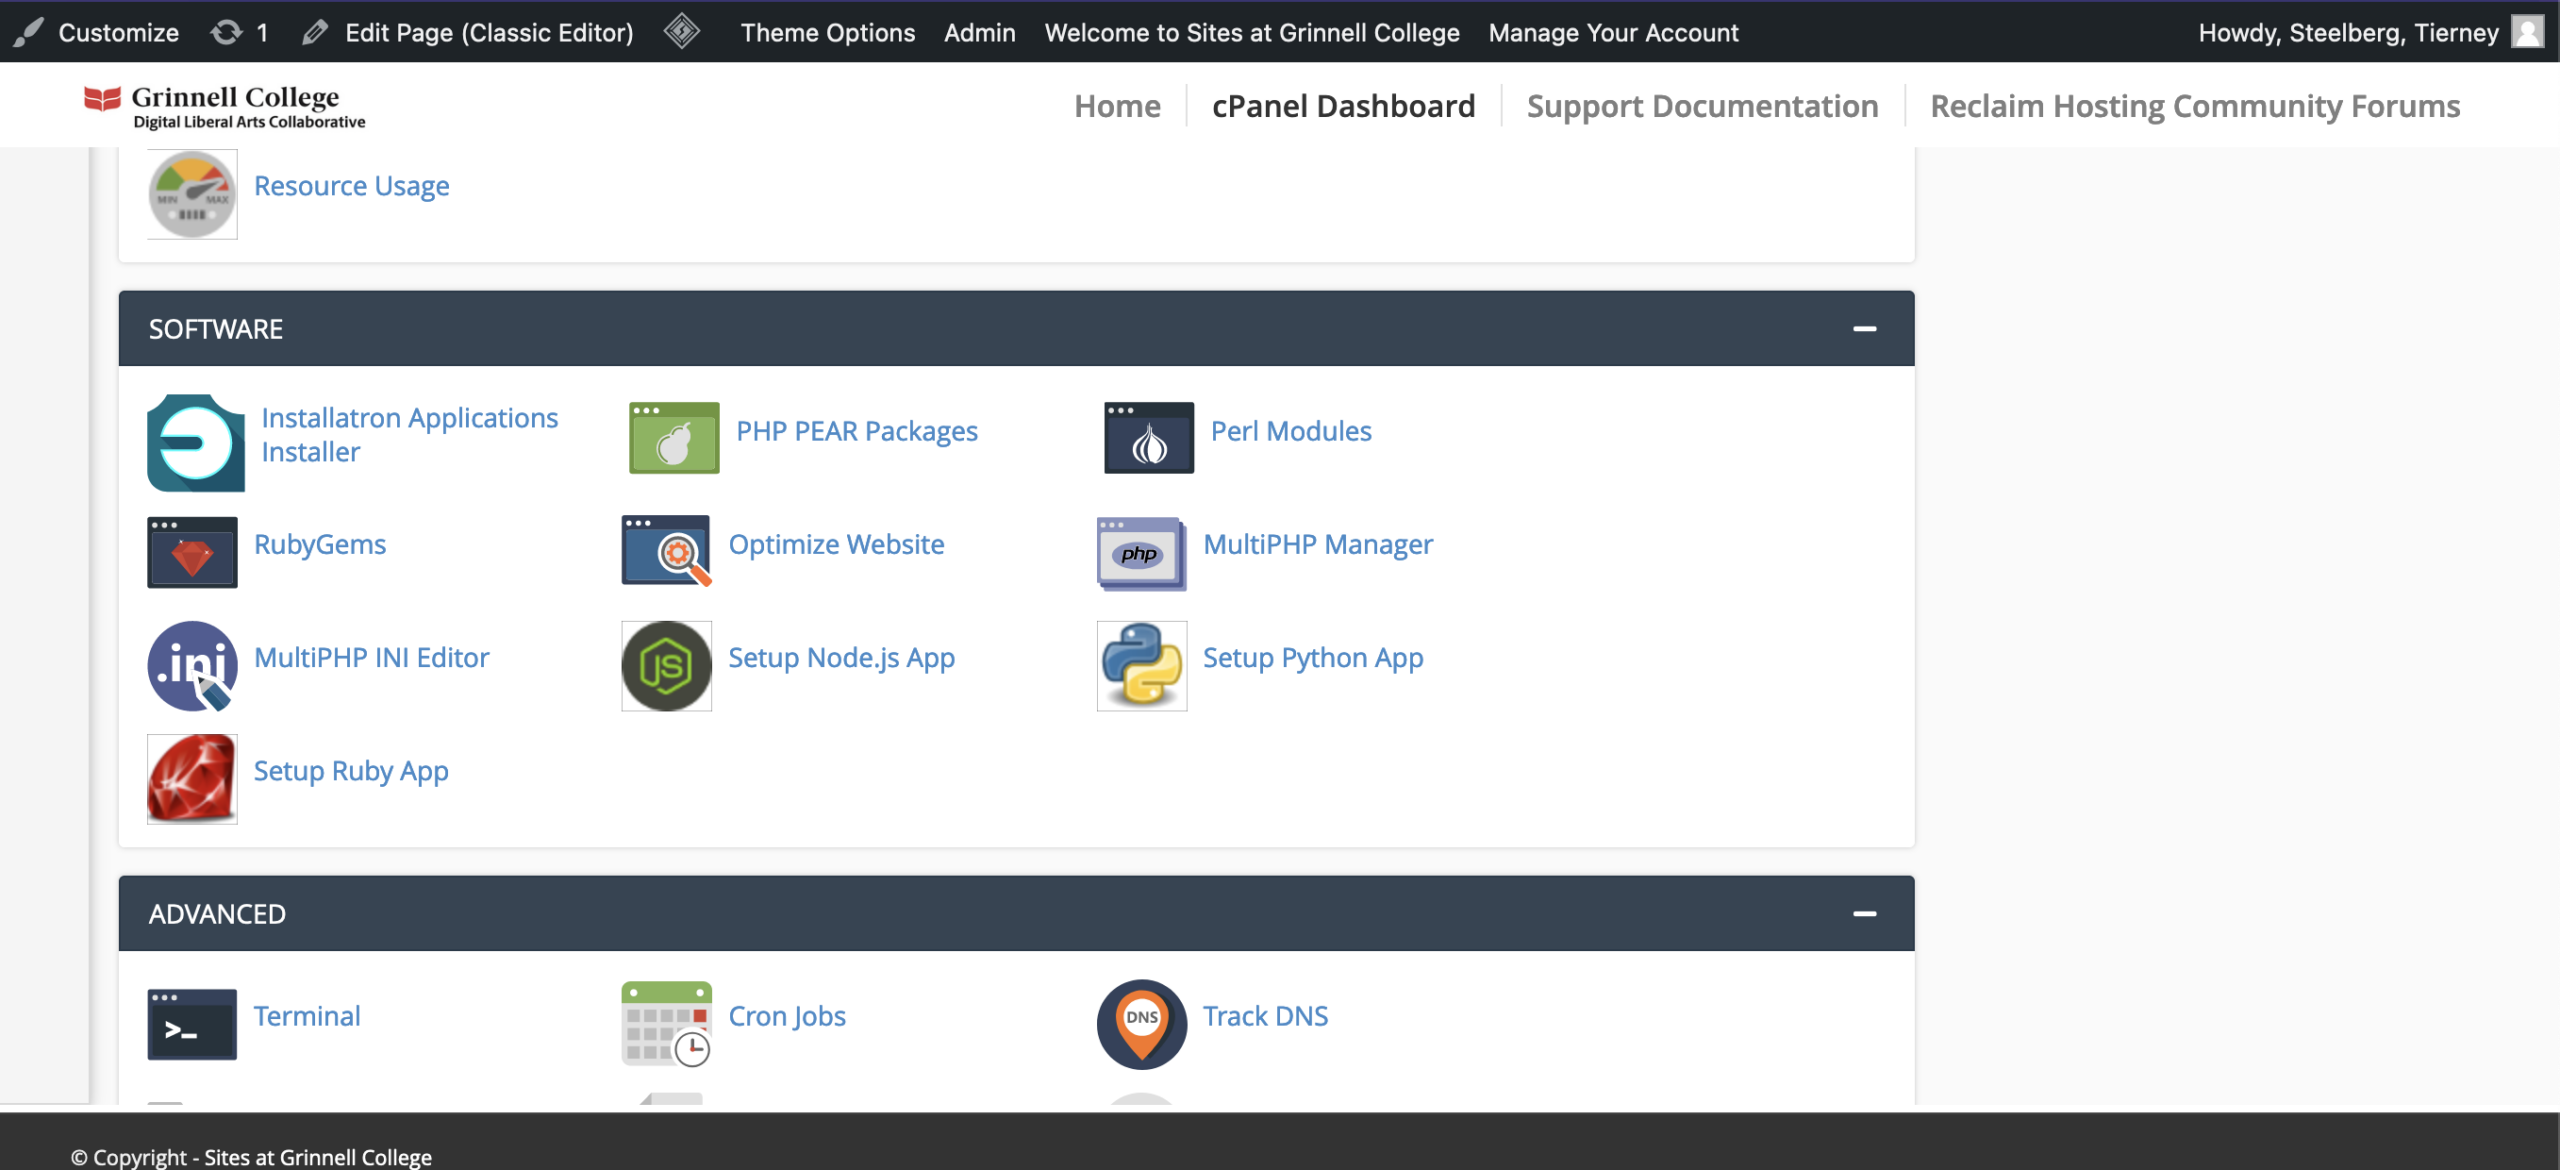
2- Scroll down to the Software section your cPanel homepage, and click on MultiPHP Manager.
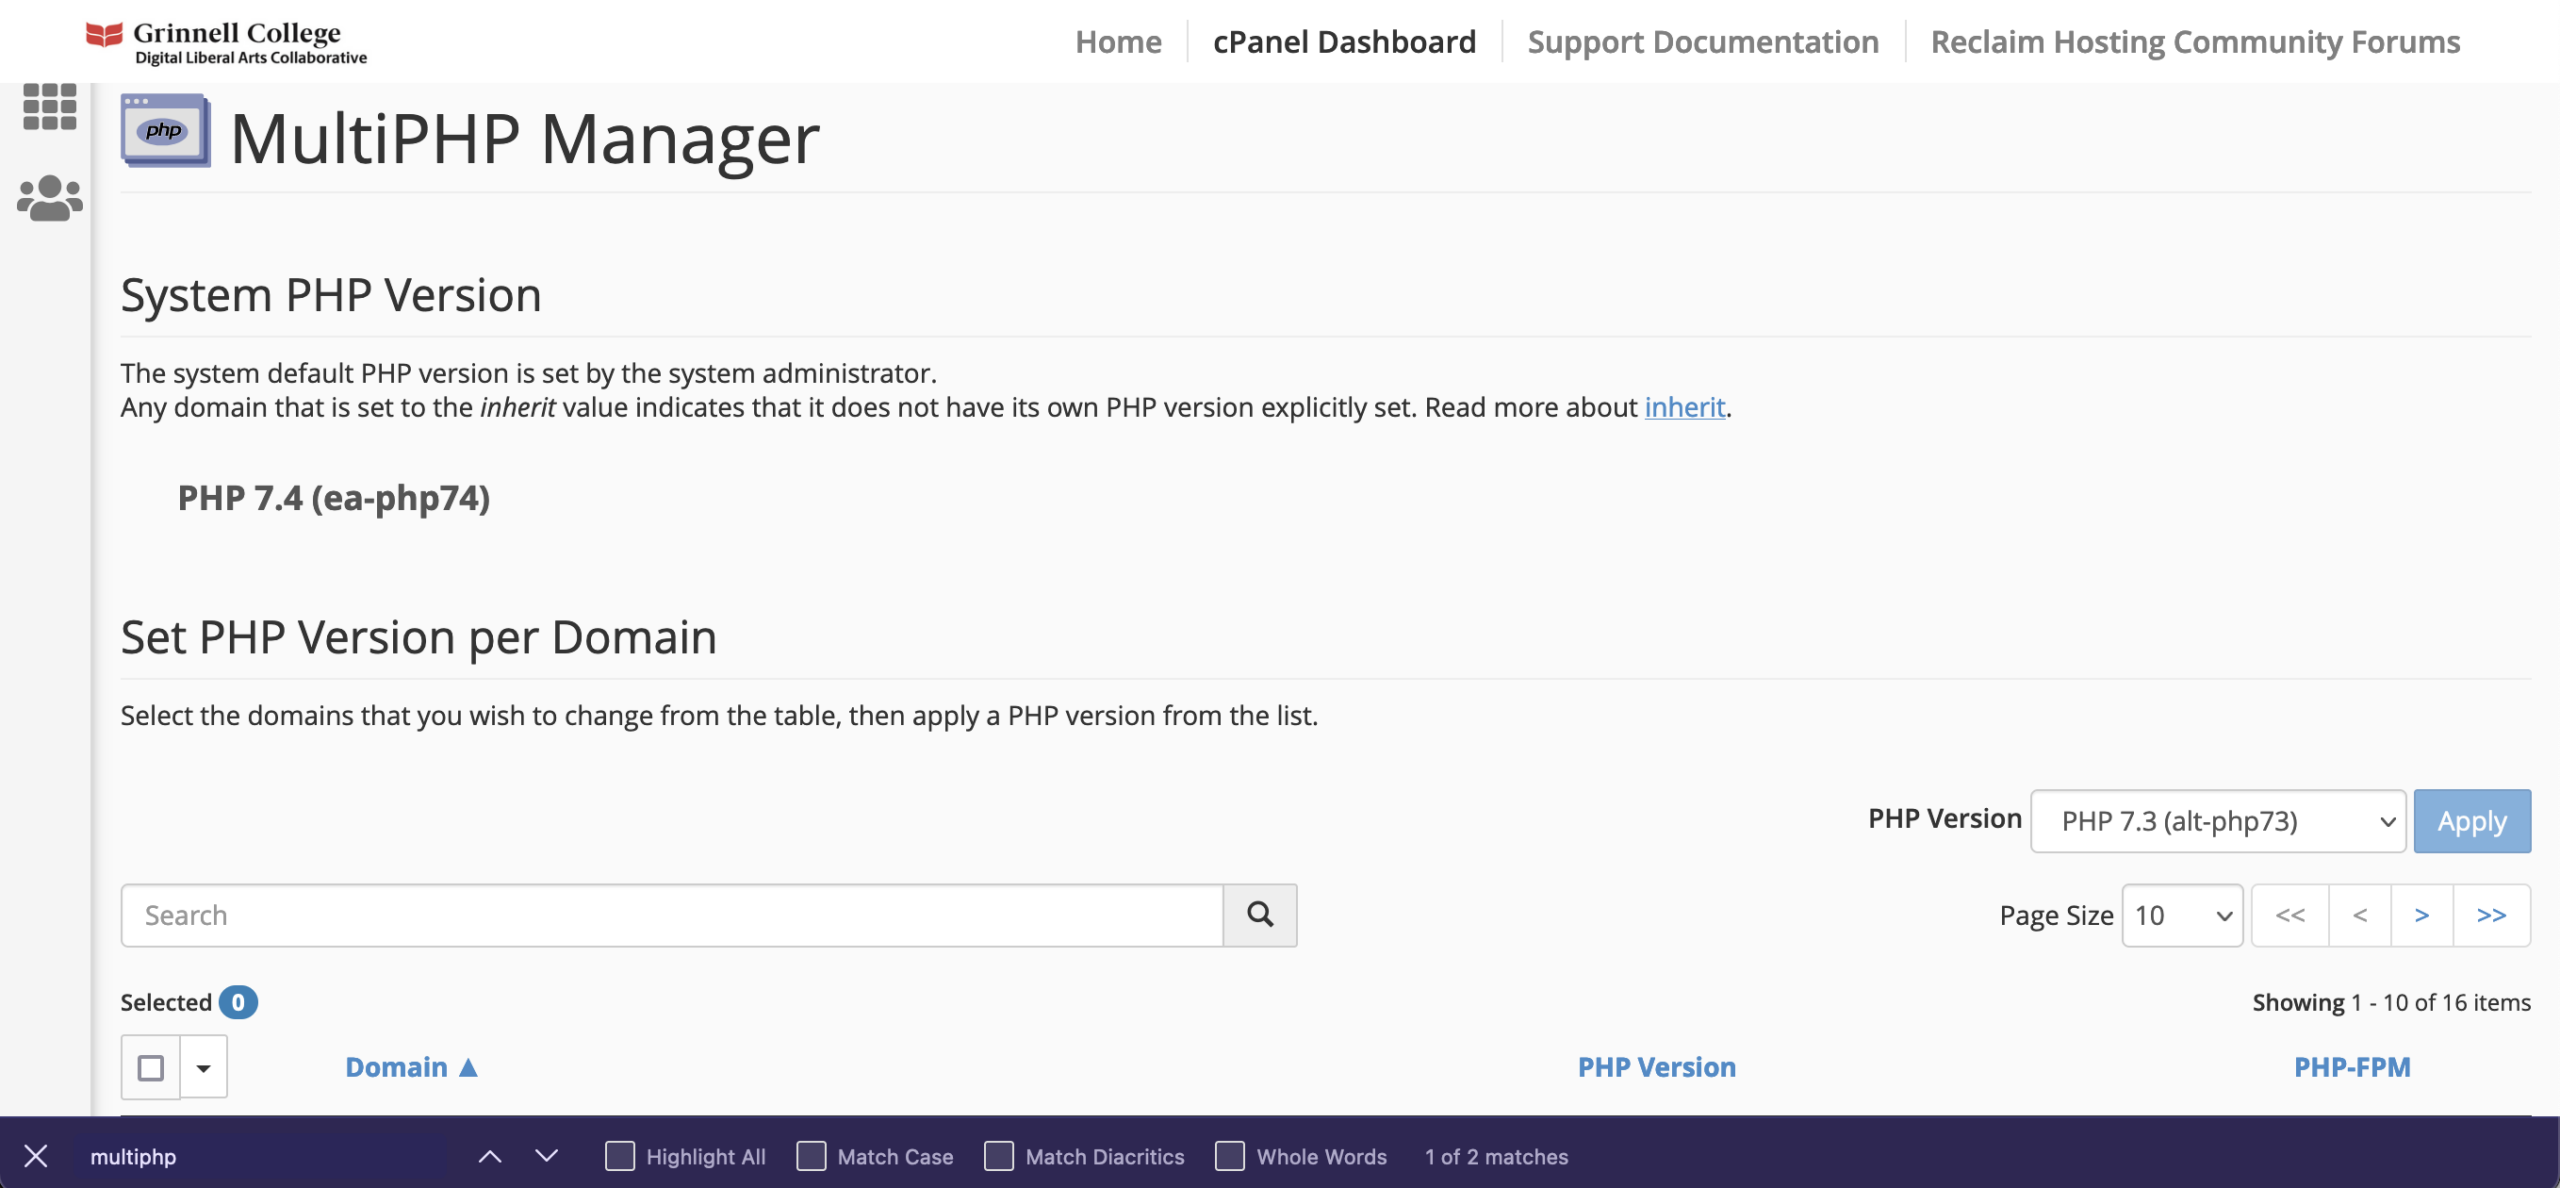
3 – Look for your System PHP Version listed at the top. Write this down.
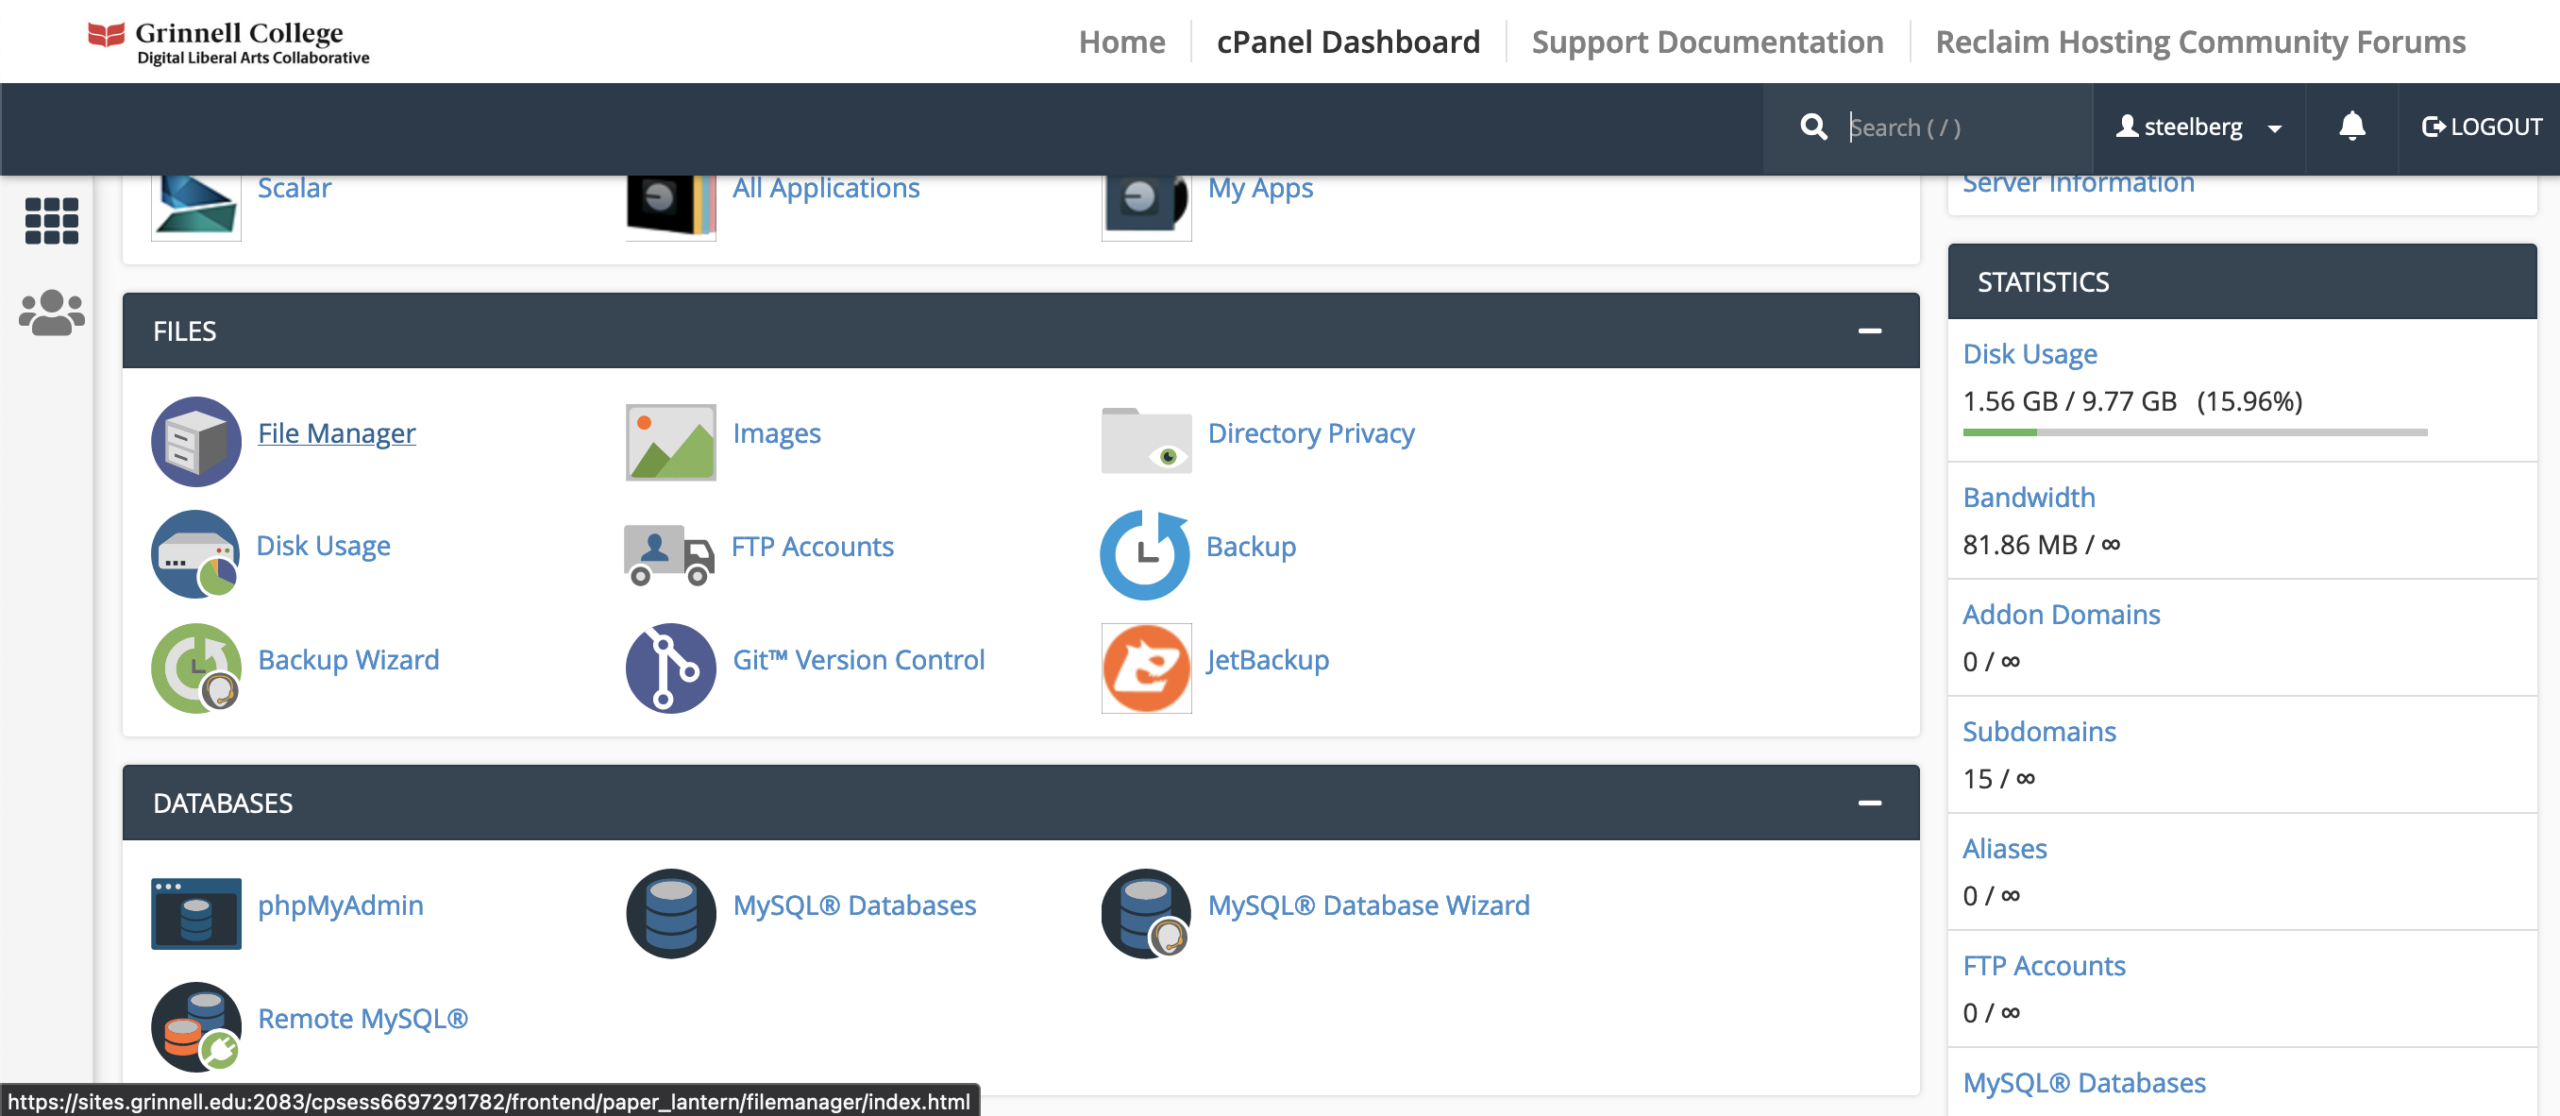
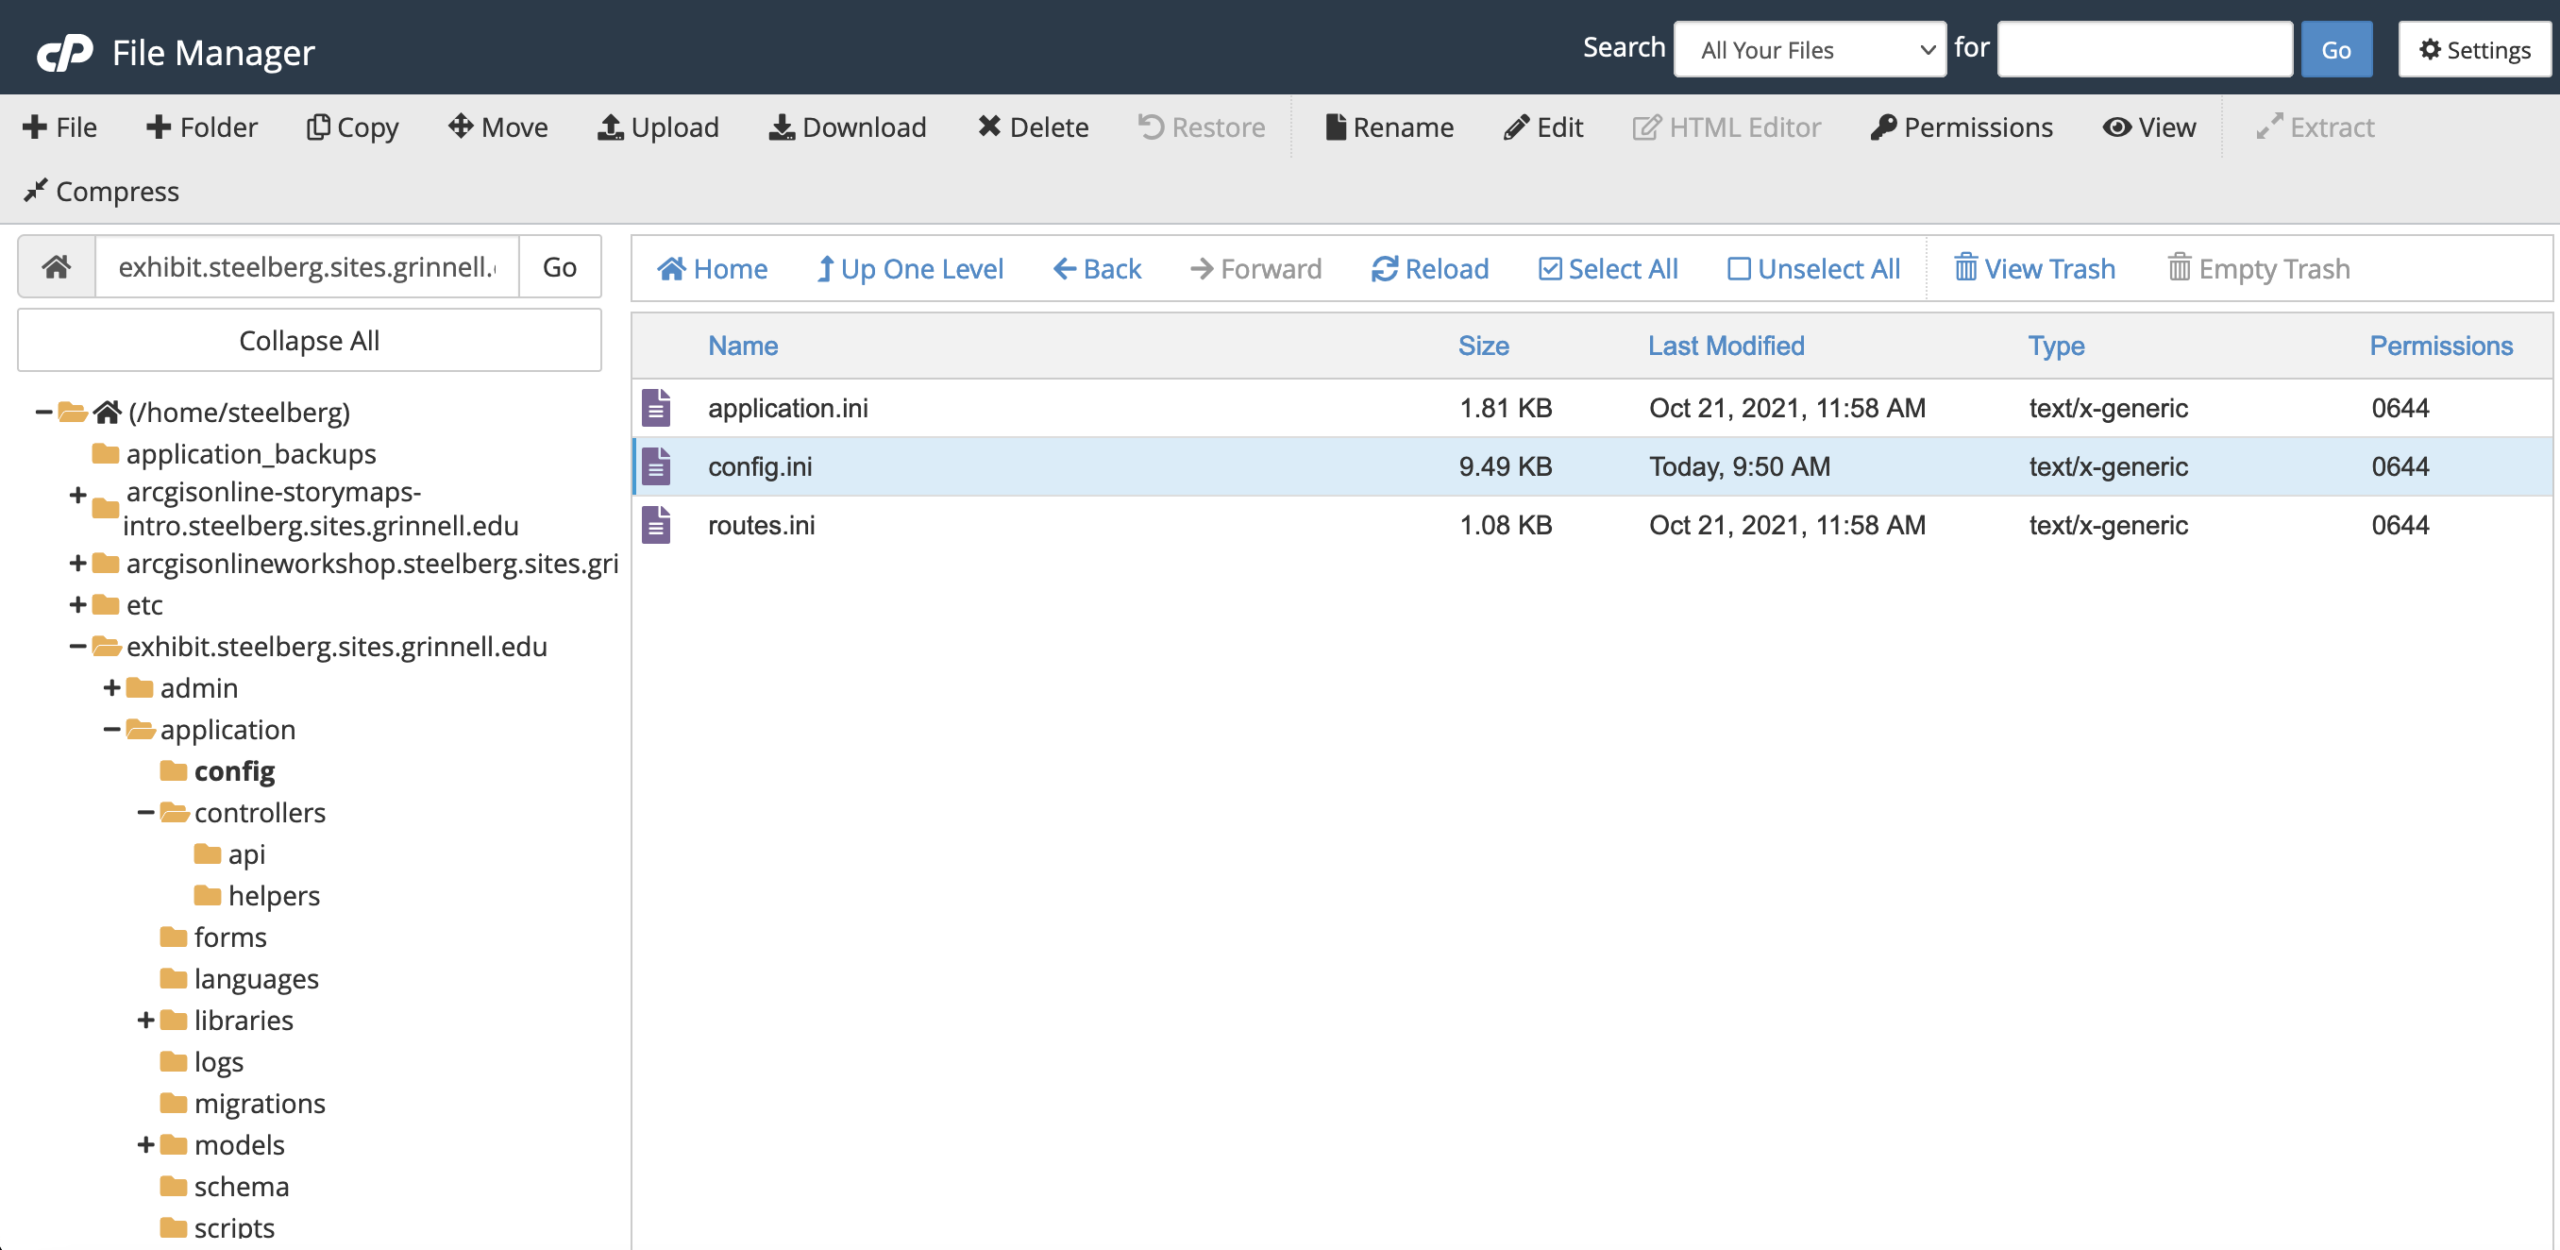
4 – Go back to your cPanel homepage and click on File Manager (under the Files section).
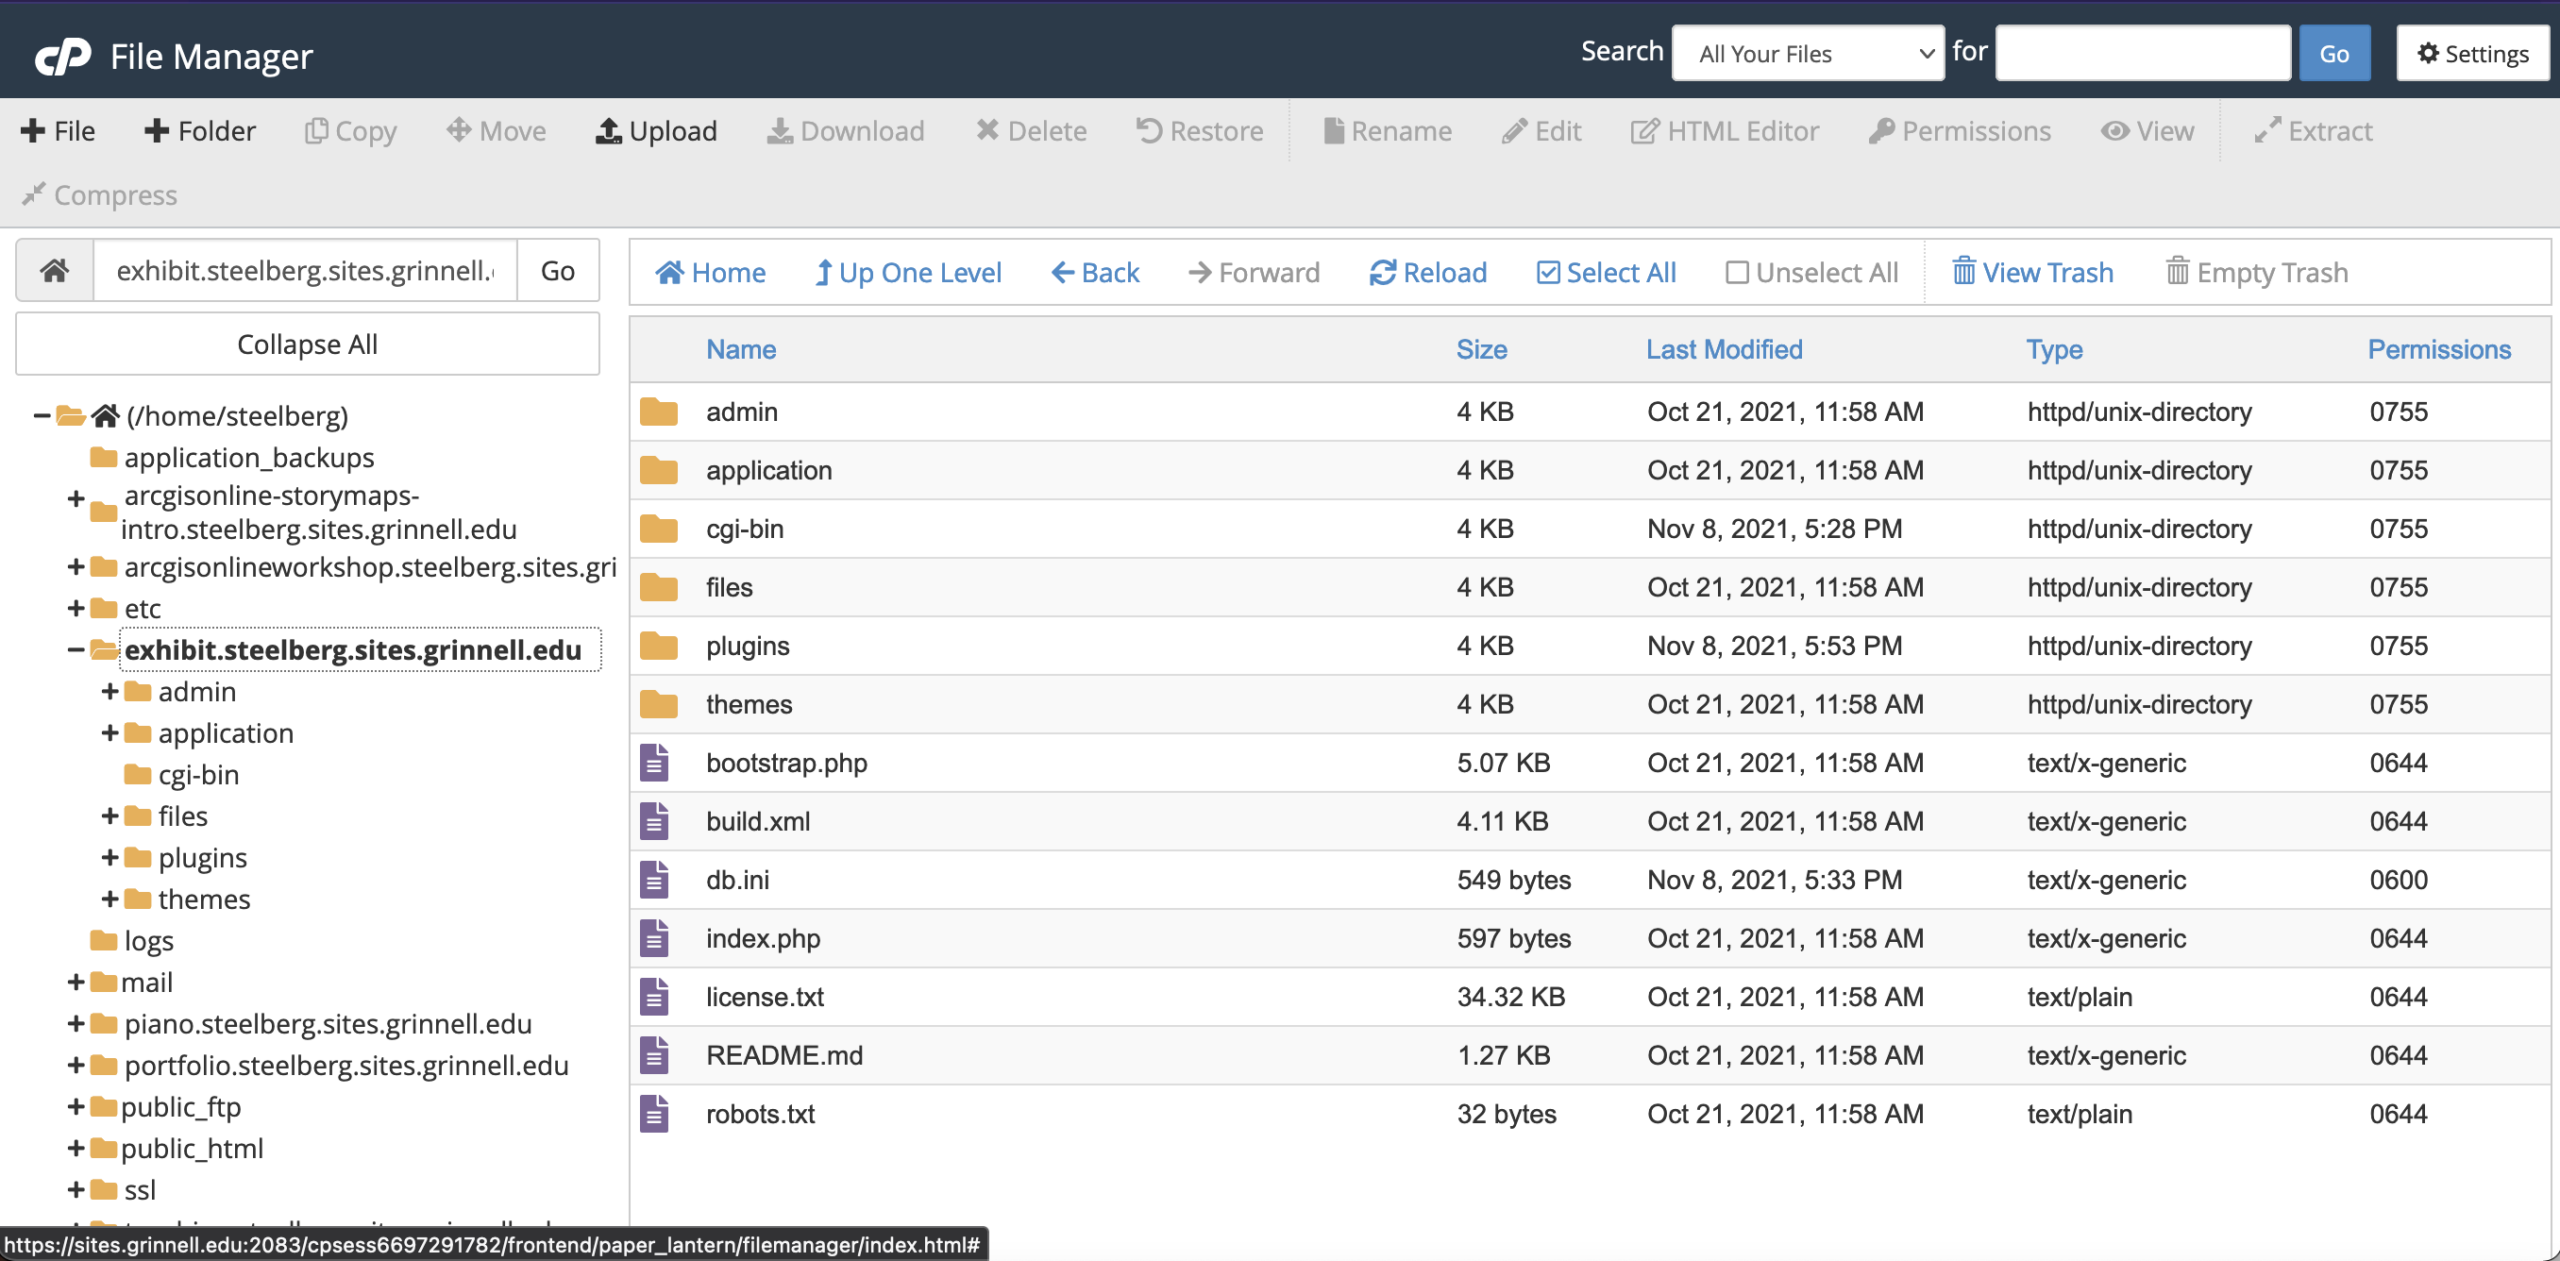
5 – Navigate to your Omeka site’s subfolder (so in the case of the exhibit.steelberg.sites.grinnell.edu site, the folder with that name).
6 – Open the application subfolder, then the config subfolder within it.
7 – Click the config.ini file, then click the Edit button at the top.
8 – Search in the file for the background.php.path setting. It should be blank (no value in between the quotes).
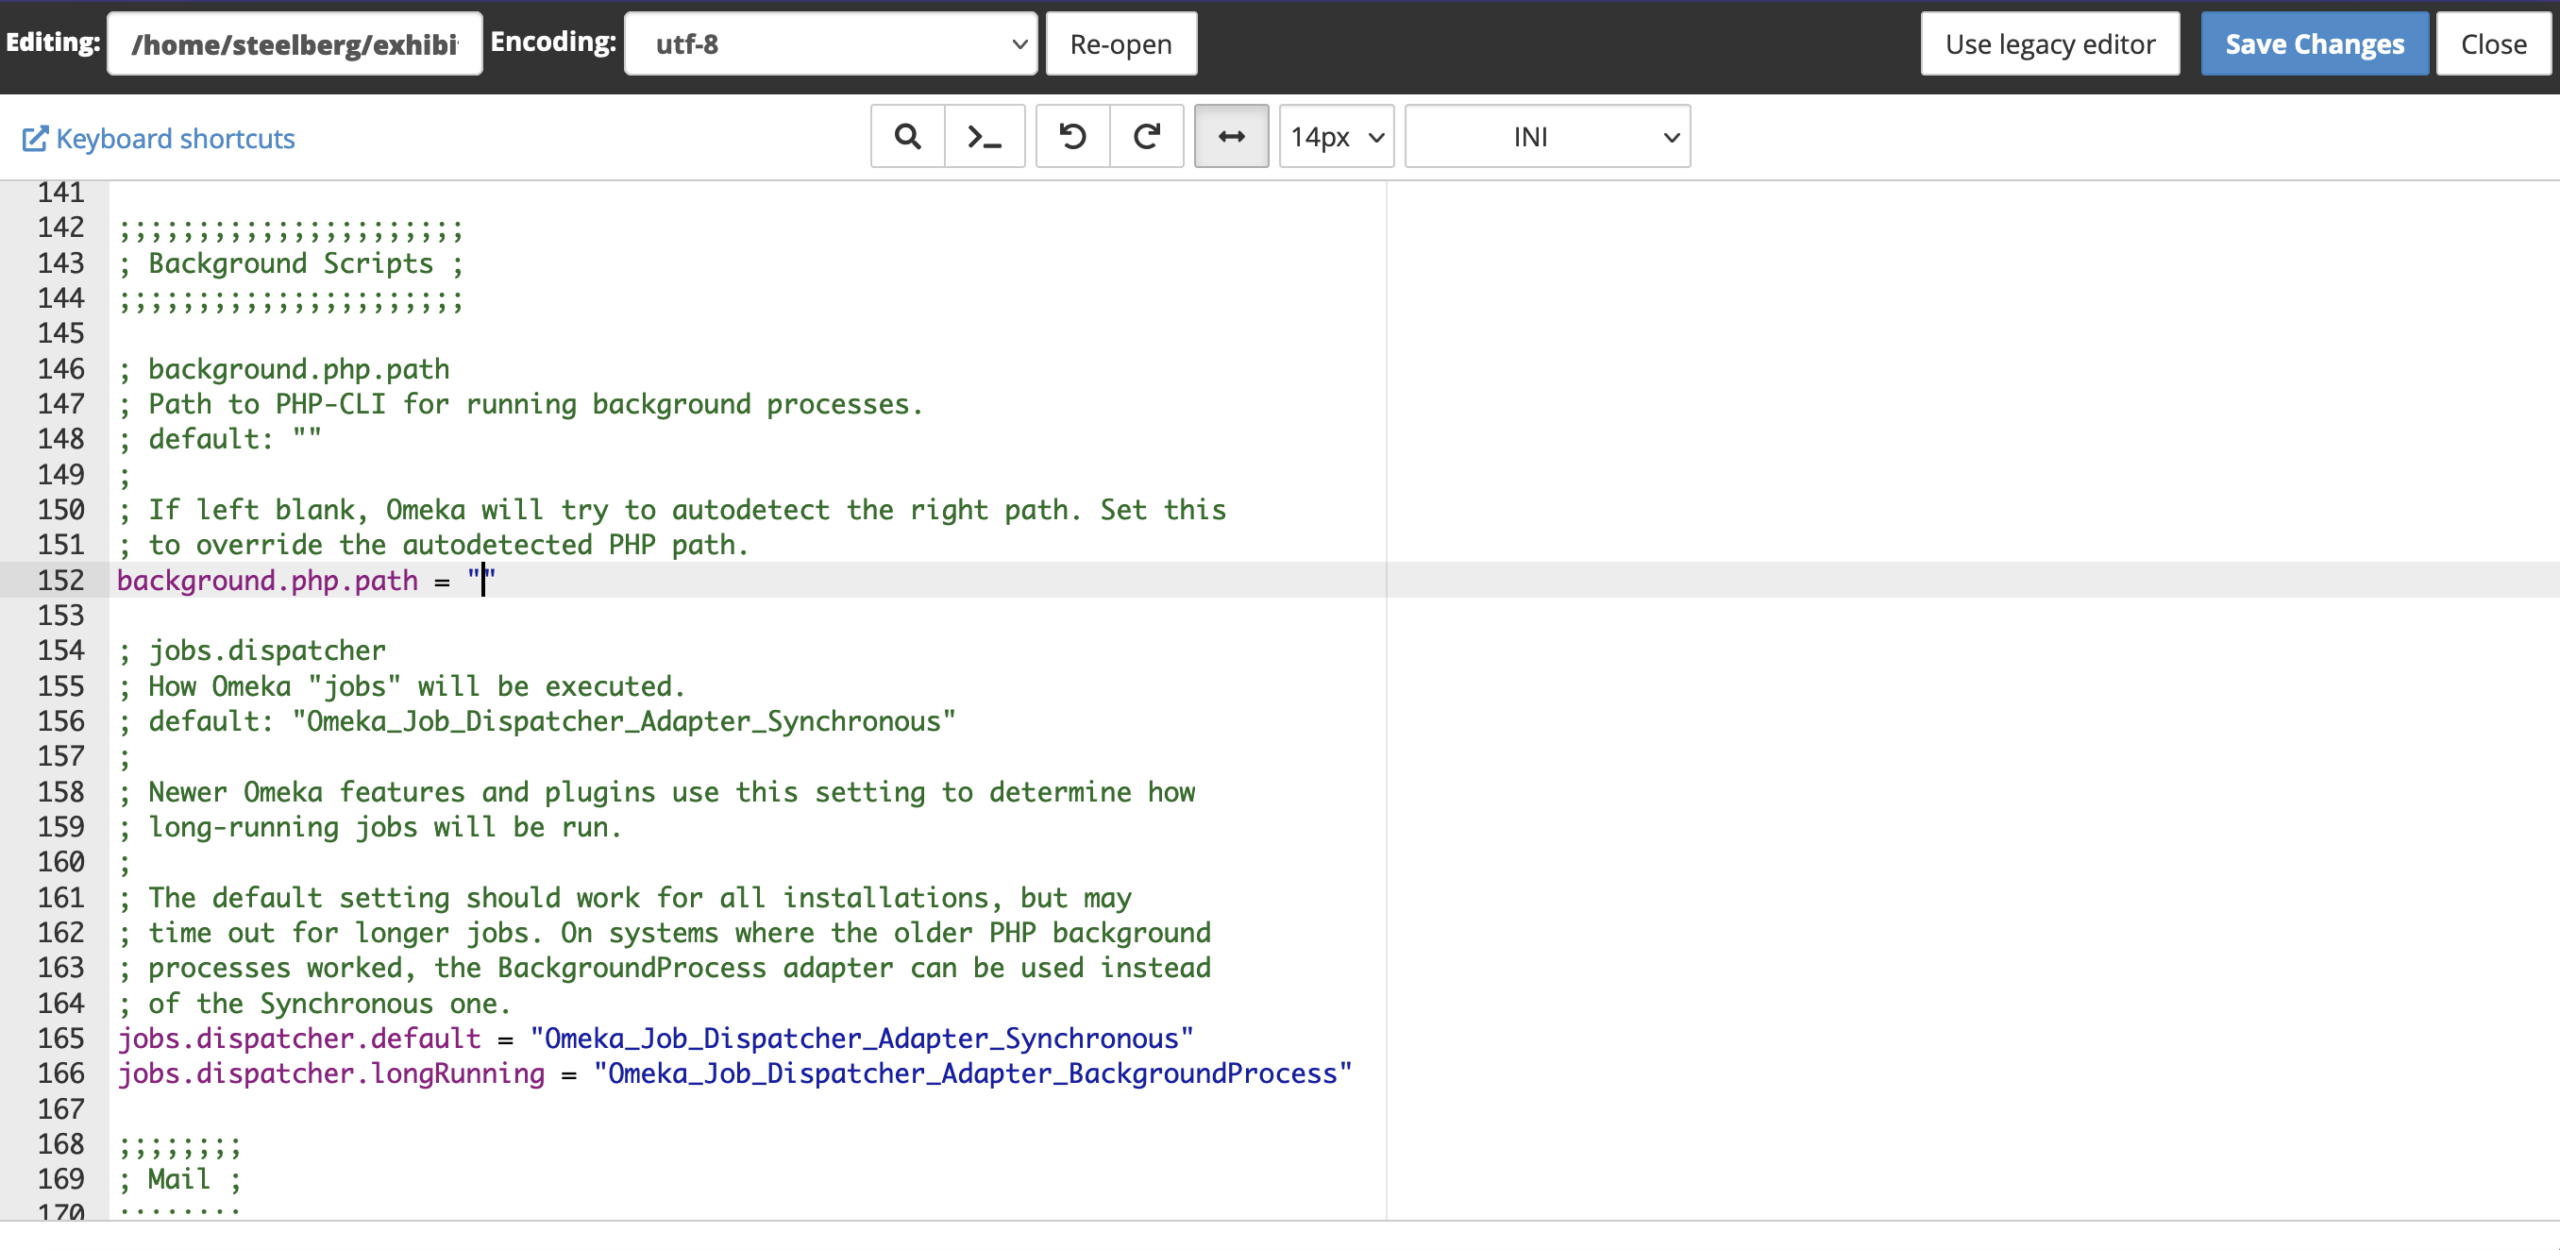
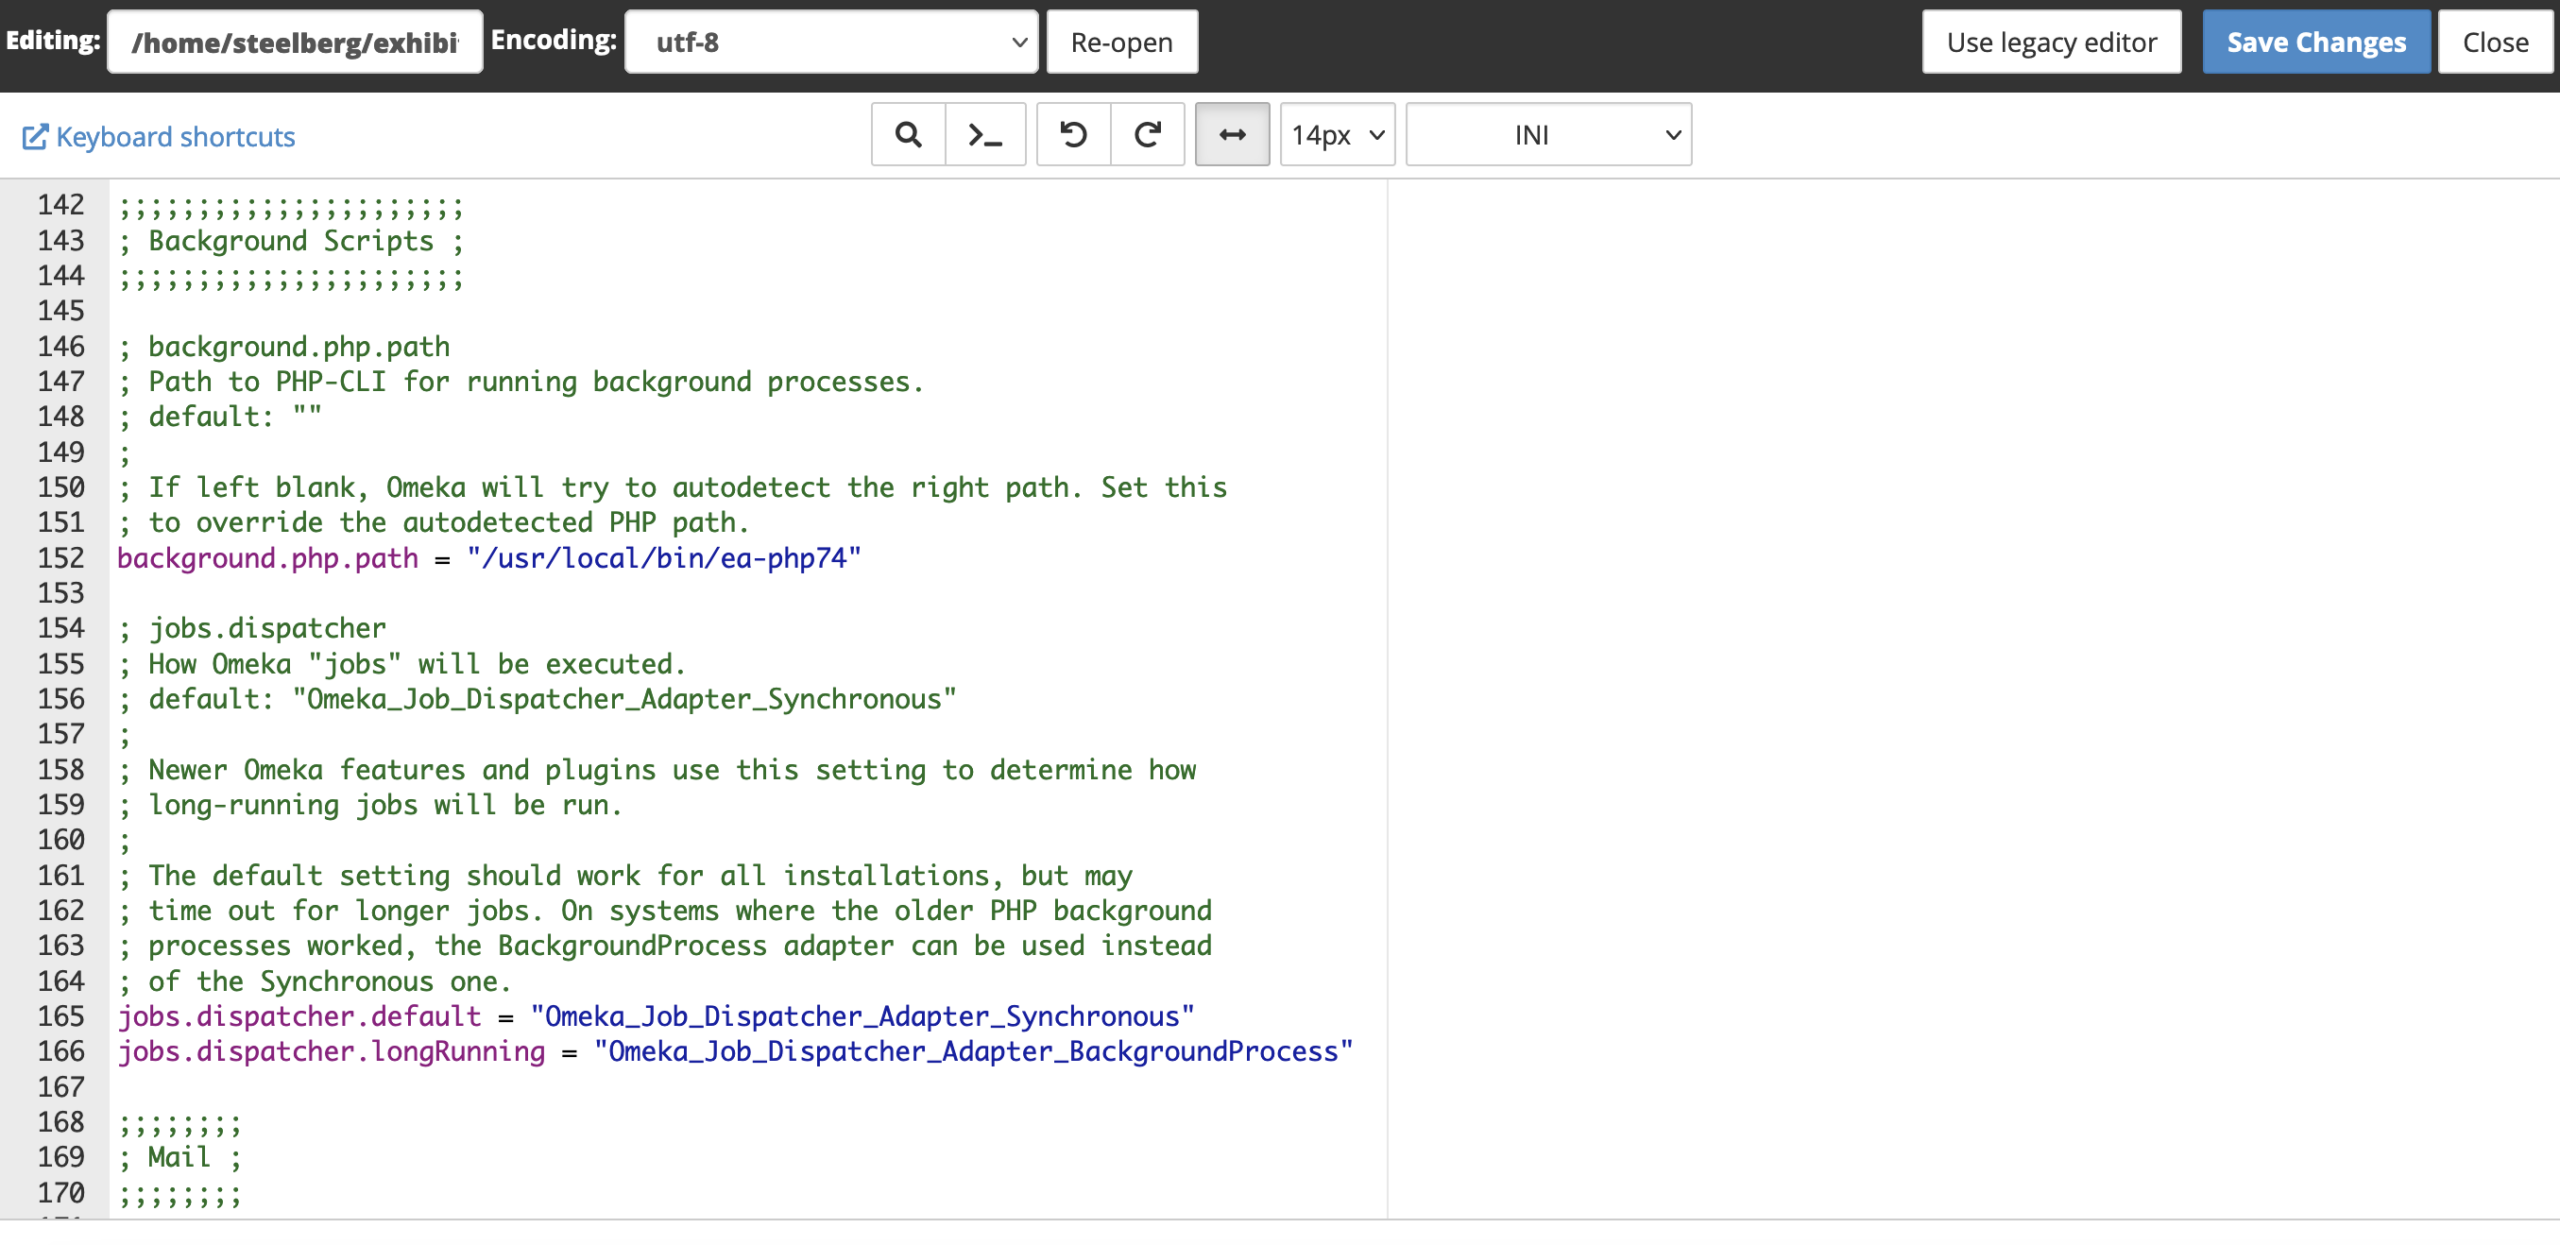
9 – In between the quotes after the equal sign (=), add in a line of code corresponding to your System PHP Version as ascertained earlier.
-
- PHP 7.4 →
/usr/local/bin/ea-php74 - PHP 8.0 →
/usr/local/bin/ea-php80 - PHP 8.1 →
/usr/local/bin/ea-php81
- PHP 7.4 →
10 – So for a system running PHP 7.4, the line should read background.php.path = "/usr/local/bin/ea-php74"
11 – Click the Save Changes button in the top right.
12 – You should be good to go with using the CSV Import plugin, and any others requiring this setting!
Creating Anchor Links in Omeka
This walkthrough provides step-by-step instructions for creating anchor links in Omeka, which allows you to link to a specific element on the page, which is useful for tables of contents, glossaries, and the like.
Before you begin, you must first make sure that the HTML elements used are allowed on the site (under Settings > Security > HTML Filtering), or that HTML filtering is turned off. This can cause security issues if done improperly, so make sure to talk this through with a Vivero co-lead or Sites @ Grinnell admin before setting this up.
1 – Navigate to the Simple Page or Exhibit in which you would like to create anchor links and input your page content.
2 – Check the Use HTML editor? button above the text box to access the HTML menu.

3 – Click the Source Code button on the right-hand side of the text editor: ![]()
4 – Give the elements that you want to link to an ID within their opening HTML tag. This ID must be unique in the context of the page., and the ID should appear in quotes. For example, with a heading, the ID tag would look like: <h2 id=”first”>First Heading</h2> – see the screenshot below for an example.

5 – To link to the item within the page, as you might with a table of contents, build out a link tag with a pound sign/hashtag and then the ID. For the heading example, this would look like <a href=”#first”>Internal Link to First Heading</a> – see the screenshot below for an example. Click OK when you’re finished editing the source code.

To link to the item on another page, build out a link to the page appended with a pound sign/hashtag and then the ID. For the heading example, this would look like <a href=”https://myomekasite.sites.grinnell.edu/mypage#first”>External Link to First Heading</a> – see the screenshot below for an example. Click OK when you’re finished editing the source code.

6 – When finished, make sure to click the Save Changes button to save the edits or changes you made to the page or exhibit. Check the Publish this page? box to make sure the page is public, if desired.